TECHNIQUES FOR THE PERFECT PAINT JOB
Getting a good quality paint job doesn’t come easy, which is why most people prefer leaving it to the experts. Though it is hard, learning can be quite easy once you know the tips and tricks to apply. Here are some of them:
Painting tends to be messy, that’s why you should protect the surfaces that you don’t want paint on, before you begin. Use cotton drop cloths instead of plastics to protect surfaces from spills and chose the heavy ones since they do not require any taping to keep in place.
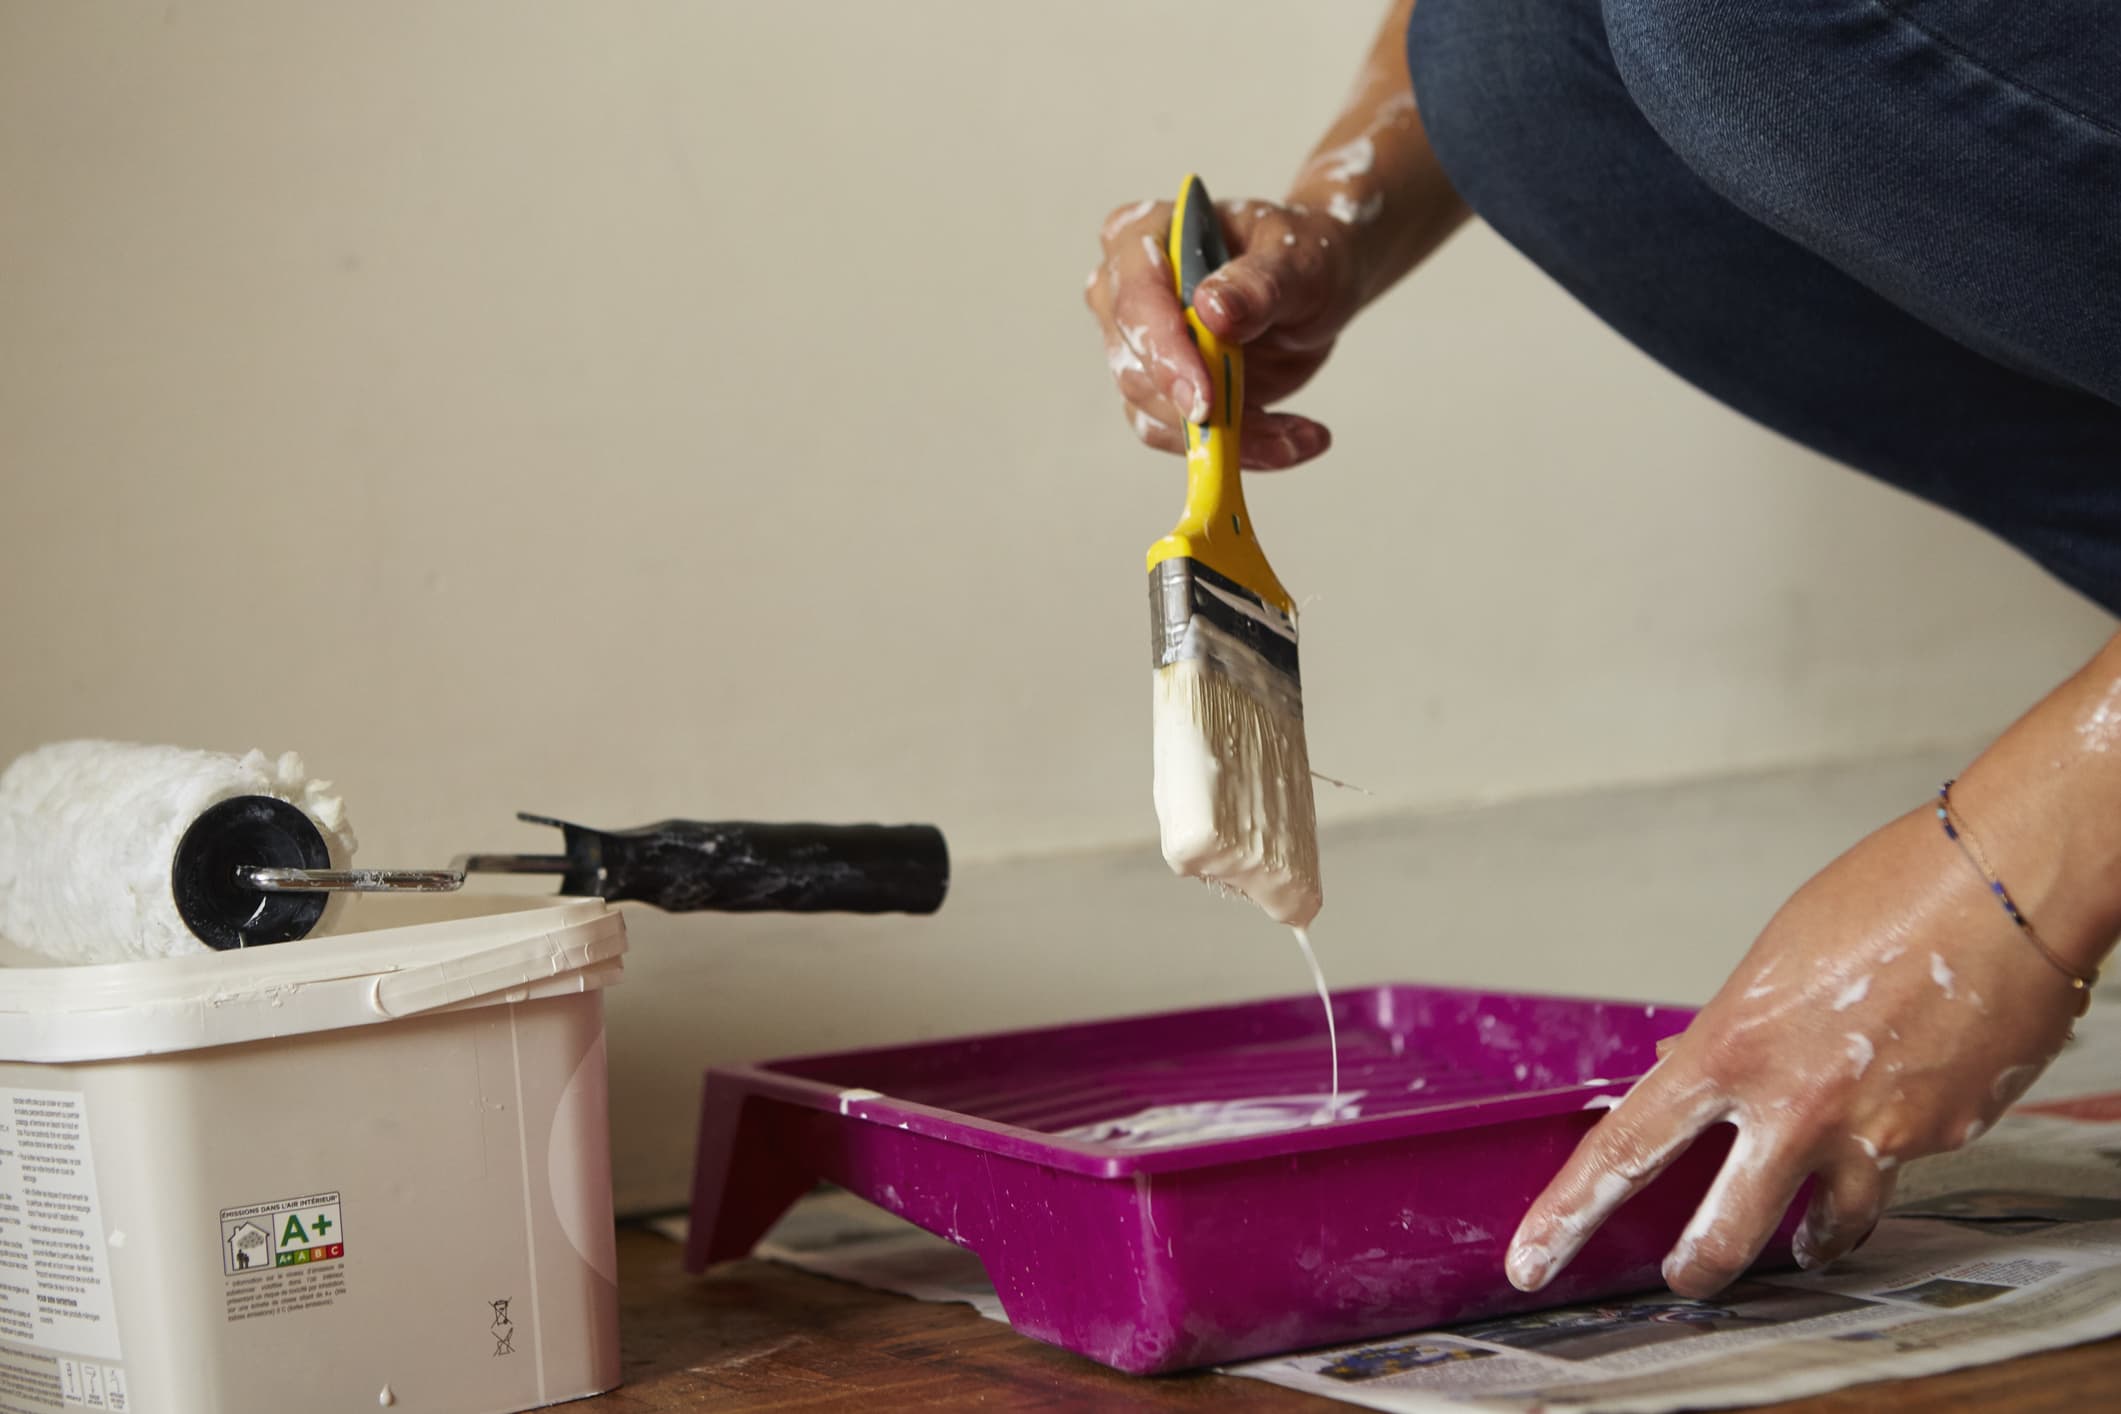
As you start to paint, ensure that you gather all your painting equipment including all the paint you will need for a room. You will also be required to mix all the cans of paints to be used in a room in a large bucket. Paint colours vary from can to can which means that if you keep changing colours in a room, the difference will be visible and the results won’t be very appealing.
Another tip that is quite important is getting the surface you want to paint cleaned before the process begins. Dirty surfaces make the paint chip and peel quite easily. Clean all grime with a heavy-duty cleaner. This will help in the adhesion of the paint giving you a strong bond.
In case you are wondering where to begin when painting, experts prefer to start with the trims, then the ceiling and finally the walls. This is because taping the trims which occupy a small space is quite easy compared to starting with any other surface.
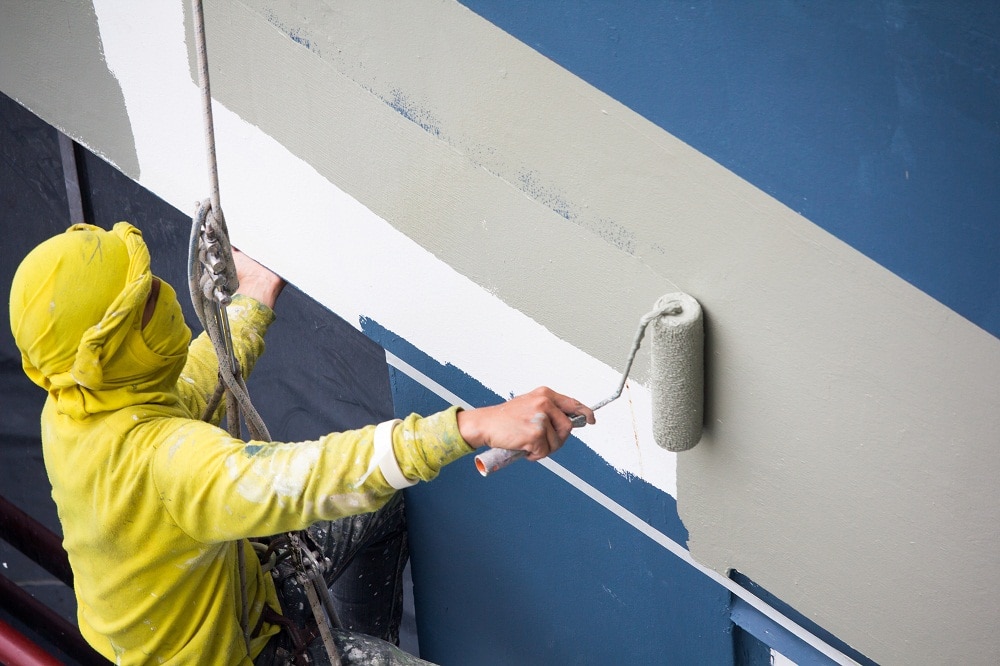
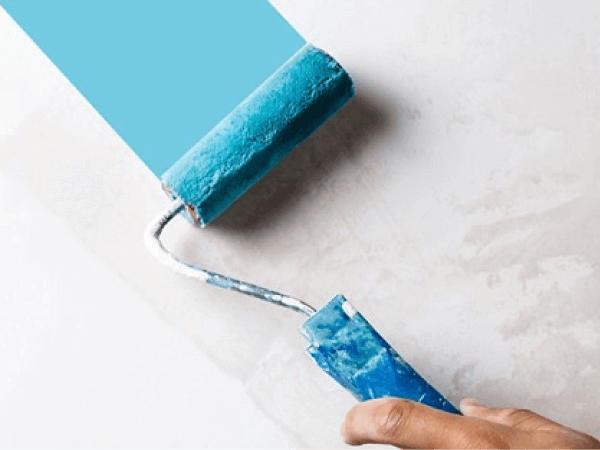
TO AVOID LAP MARKS, ROLL THE FULL HEIGHT OF THE WALL AND KEEP A WET EDGE
Lap marks are those ugly stripes caused by uneven layers of paint build-up. They occur when you roll over paint that's already partly dry. (in warm, dry conditions, latex paint can begin to stiffen in less than a minute!) The key to avoiding lap marks is to maintain a "wet edge," so each stroke of your roller overlaps the previous stroke before the paint can begin to dry.
MIX SEVERAL CANS OF PAINT IN A LARGE BUCKET FOR A CONSISTENT COLOR THROUGHOUT THE ROOM
Paint colour may vary slightly from one can to the next. If you have to open a new can in the middle of a wall, the difference may be noticeable. Mixing the paints together eliminates the problem. It's best to estimate the amount of paint you'll need and mix it in a big bucket (a process called "boxing")
TIP 3LET THE PAINT DRY, THEN CUT THE TAPE LOOSE FOR A PERFECT EDGE
Once paint is dry, you can't just pull the tape off the trim. Paint forms a film between the wall and the tape, and removing the tape tears pieces of dried paint off the wall. So before pulling off the tape, cut it loose.
PAINT THE TRIM FIRST. THEN THE CEILING AND WALLS
Pros usually follow a certain order when painting a room. They paint the trim first, then the ceiling. then the walls. That's because it's easier (and faster) to tape off the trim than to tape off the walls. And you certainly don't want to tape them both off!
TIP 5CLEAN DIRTY SURFACES SO THE PAINT CAN FORM A STRONG BOND
if you paint over dirty, oily surfaces, the paint will easily chip or poet off. So before painting, clean gramy areas with a deglosser or heavy-duty cleaner intended for prepaint cleaning. They work well to clean painted, varnished or enamelled surfaces to improve the adhesion of the new paint.
TIP 6ROLL PAINT ALONG THE EDGES FOR CONSISTENT TEXTURE
Corners and areas next to trim that are painted only with a brush have a notice- ably different texture than the surrounding paint. To ensure the finished texture will be consistent in these areas, brush on the paint, then immediately roll it out before the paint dries
USE COTTON DROP CLOTHS RATHER THAN PLASTIC
Spills and spatters happen, regardless of how careful you very are. It's a lot easier to pre-pare for them than to wipe them out of your carpeting or off your wood floor later. All it takes is canvas drop cloths in your work area. The thick canvas stays in place, so you don't need to tape it, and you can use it to cover any surface.
TIP 8FEATHER OUT PAINT WHERE YOU CAN'T KEEP A WET EDGE
You can't cover large areas like ceilings, extra-tall walls or stairwells in single, continuous strokes, so the best way to minimize lap marks on these areas is to feather out the paint along the edges that you can't keep wet. The thinner, feathered coat of paint will avoid the build-up that causes the lap mark.
TIP 9SAND TRIM BETWEEN COATS FOR AN ULTRA-SMOOTH FINISH
One coat of paint usually won't hide the underlying colour and sheen on trim. And if you don't sand the surface smooth between coats, the finish may have a grainy texture. For a smooth finish, sand the trim before applying each coat of paint.
We hope you have found this blog informative and helpful. To know more about interior house painting tips & painting techniques for the perfect paint job, call us now. Feel free to share your comments and feedback with us on hr@vvjkbuilders.com. We love it when our readers interact with us.